Orangeburg, Clay, or PVC? How to Tell What Your Sewer Is Made Of—and What That Means
Backups always seem to happen at the worst possible time—holiday weekend, full house, laundry running. The mystery everyone wants solved is simple: what’s my sewer line actually made of? Because the material under your yard is the best clue to why you’re having problems and the smartest (least expensive) way to fix them.
This guide shows Idaho homeowners how to identify Orangeburg, clay, or PVC laterals, what each material’s typical failures look like, and which repair options actually make sense. We’ll also explain how a quick camera inspection turns guesswork into a plan you can act on.
First things first: why the pipe material matters
Different materials fail in different ways:
Some collapse (you can’t line a pancake).
Some shift at the joints (tree roots love the gaps).
Some are perfectly fine—your problem is grease, scale, or a single bad fitting.
Knowing the pipe type means you can choose between spot repair, trenchless lining, pipe bursting, or a small open-cut replacement—instead of paying for 60 feet when only 6 feet are bad.
How to identify your sewer material (without digging up the yard)
1) Age of the home and neighborhood
Pre-1960s: Often clay or Orangeburg in older blocks.
1960s–1980s: Mix of clay and early ABS/PVC transitions.
1990s–present: Mostly PVC (occasionally ABS).
Not a guarantee, but a useful starting point.
2) What you can see inside
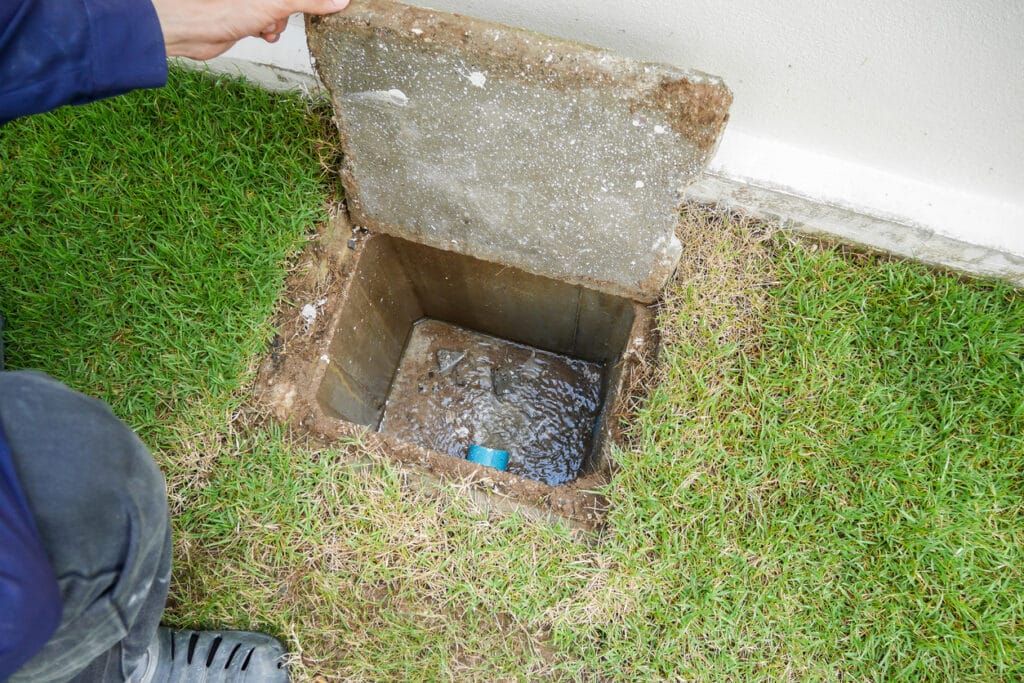
Find a cleanout (white/black cap) in the basement, crawlspace, garage, or outside near the foundation.
White pipe with smooth walls and printed stripes/letters: Likely PVC.
Black plastic: ABS (behaves like PVC for our purposes).
Thick, brownish paper-fiber look (rare inside): could be Orangeburg.
No plastic at all, just old fittings: Exterior may be clay.
Remember: it’s common to have plastic inside the foundation and older materials outside. That’s why we camera from the house to the street.
3) Camera inspection (the truth serum)
A 30–60 minute sewer camera confirms material changes, joint spacing, and problem zones. Clay joints show every 2–3 feet. PVC has glued bell joints and smooth bore. Orangeburg looks darker, often ovalized or with blistering layers. We also mark depth and location so if any dig is needed, it’s small and targeted.
Orangeburg: the paper pipe that outlived its warranty
What it is: A wood-pulp and pitch pipe popular mid-1940s–1960s when materials were scarce. It went in fast and cheap—and was never meant to last this long.
Tell-tale failures
Ovalized (egg-shaped) runs that collapse under soil load
Blistering/delamination—looks like bubbles peeling inside the pipe
Flat spots/bellies that hold water and solids
Frequent root intrusion because the material itself softens
Symptoms you’ll notice
Recurrent backups, especially after storms or heavy laundry days
Gurgling across multiple fixtures
Camera shows dark, soft-looking walls and deformed sections
Best repair options
Pipe bursting (favorite): Pulls a new HDPE or PVC pipe through the old path with small entry/exit pits. Great when the line is badly deformed.
Open-cut replacement: Still smart for short sections or when utilities are clear.
Lining (CIPP): Sometimes possible if shape and slope are adequate, but significant deformation makes lining risky.
Bottom line: If the camera says “Orangeburg,” we plan to replace, not bandaid.
Clay: durable but jointed—and roots love joints
What it is: Fired clay tiles installed in short sections. Clay itself doesn’t rust, but joints were often mortared and not watertight forever.
Tell-tale failures
Offsets where one section slips relative to the next (paper snags at the “step”)
Root intrusion at almost every joint along tree lines
Cracked bells from movement or heavy loads above
Occasional bellies due to settlement
Symptoms you’ll notice
Slow drains that improve after snaking but return seasonally
Yard spots that stay green/humid above the line
Camera shows joint-lip “stairs”, root hair waving, and segments every few feet
Best repair options
Lining (CIPP): Excellent for long stretches with many leaky joints—creates a smooth, watertight pipe inside the old one.
Spot repair: When a single joint is offset or cracked; dig 3–6 feet, fix the joint, backfill.
Pipe bursting: Great when sections are broken or multiple offsets make lining unsuitable.
Bottom line: Clay often responds well to trenchless solutions. The camera tells us whether to line many joints or burst where structure is too compromised.
PVC (and ABS): smooth, strong, but not perfect
What it is: Modern plastic pipe—longer sections, glued bell joints, smooth interior.
Tell-tale failures
Low spots/bellies from poor bedding or settlement
Bad glue joints or misalignment at transitions
Construction debris left during build (yes, we see it)
Rare crush from heavy equipment or improper depth
Symptoms you’ll notice
Intermittent backups when solids settle in a belly
Single clog points at a bad fitting
Camera shows smooth white/black walls, long straight runs, occasional standing water section
Best repair options
Spot repair for a single bad joint or belly
Lining only in specific cases (PVC is usually better spot-fixed)
Jetting/maintenance if the pipe is sound and the issue is grease/scale
Bottom line: Most PVC problems are localized and cheap to fix once the camera finds the exact spot.
Quick comparison: failures and fixes
| Material | Typical Failure | Good Fixes | Maybe/Not Ideal |
|---|---|---|---|
| Orangeburg | Collapse, ovalizing, blisters | Pipe bursting, open-cut | Lining (only if round and stable) |
| Clay | Root intrusion at joints, offsets | Lining, spot repair, bursting | Full replacement only when needed |
| PVC/ABS | Belly, bad joint, construction debris | Spot repair, jet/clean | Lining (case-by-case) |
“Do I really need a camera first?” (Yes—here’s why)
A clean-out and 30–60 minutes of camera time can save you thousands:
Confirms material and where it changes (many lines are mixed: PVC near the house, clay to the street).
Shows depth and footage so a dig is a small rectangle—not your whole yard.
Decides between lining vs. bursting vs. spot repair (each has a different price tag and timeline).
Gives you a recording you can use to compare bids or keep for future.
Real-world scenarios (what we see every week)
The “perfect for lining” clay run
Camera shows sound clay with small roots at every joint for 50 feet. Plan: Jet roots, install CIPP liner end-to-end, reinstate the house connection, done. Yard stays intact.
The Orangeburg pancake
20 feet near the street is flattened with standing water. Plan: Burst from a pit near the foundation to a small street-side pit. New pipe, minimal disruption.
The PVC belly by the driveway
Camera dips into water for 6–8 feet under a vehicle path. Plan: Small open-cut to correct slope and compact bedding. Everything else stays.
Mixed materials with one bad transition
PVC inside meets clay outside with a step offset. Plan: Dig one joint, replace with a proper transition fitting, backfill. No trenchless needed.
What an A+ “diagnose and decide” visit looks like
Restore flow if you’re backed up (auger or hydro-jet).
Camera the main from house to city tap; record video and mark depth/locations.
Explain options on-site with clear pros/cons and timelines.
Email the video + plan so you can compare bids confidently.
Schedule the right repair (spot repair, lining, or bursting). We keep the equipment and crews ready so you’re not waiting weeks.
Costs you avoid when you choose the right method
Exploratory digs (we know exactly where the problem is).
Replacing good pipe (fix only the bad joint or segment).
Landscaping repairs from unnecessary trenches.
Second fixes because the first one didn’t address the real cause.
Right fix, first time—that’s the whole point of the camera-and-choose approach.
Simple prevention that actually works (no matter the material)
Don’t feed the grease monster. Wipe pans before washing; skip coffee grounds and stringy peels.
Root-prone yards: If the pipe is still sound, schedule annual jetting before holidays.
Test your cleanouts. Make sure the caps turn and the area is accessible—future you will be grateful.
Know your lowest fixture. If backup happens, it shows there first (floor drain, basement tub/shower). That’s your early alarm.
FAQs
Can you line Orangeburg?
Sometimes, if it’s still round and structurally stable. Most Orangeburg we see is deformed, so bursting is safer and longer-lasting.
Will lining fix a belly?
No. A belly is a shape problem. Lining follows the existing shape. Bellies usually need open-cut to restore slope.
What if my line is fine but I keep clogging?
Great news—then the fix is maintenance (jetting, enzyme care) and kitchen habits. We’ll show you the clean video so you can skip a dig.
How fast can you do trenchless?
Once utilities are located and permits are in, lining is typically a day, bursting 1–2 days depending on access. We’ll give an honest timeline up front.
Do I need city permission?
Usually yes for replacements that connect to the public main. We handle the paperwork and inspections.
Ready to find out what’s under your yard?
If you’re seeing gurgles, slow drains across multiple fixtures, or water at the lowest drain, let’s look inside before anyone breaks ground. A quick camera inspection tells you whether you’ve got Orangeburg, clay, or PVC—and exactly how to fix it without overspending.